Signing Up and Onboarding
Create your account
Getting started with Kairvio is quick and free. The whole process takes about 5 minutes.
- Go to kairvio.com and click Start Free Trial.
- Enter your name, email address, and a password.
- Check your inbox for a verification email and click the confirmation link.
- You’ll be taken straight into the app to begin setup.
Your trial lasts 14 days with full access to Pro features — no credit card needed.
Complete the Setup steps
Head to Settings > Setup to see your Setup Progress. There are four steps to get your account up and running:
Step 1: Business Information
Enter your business name, industry, address, and a brief description. This info appears on your invoices and customer-facing messages.
Step 2: Call Routing
Choose how incoming calls are handled:
- Answer in App — calls ring directly in your browser, no cell phone needed.
- Ring My Phone — calls forward to your mobile device.
- Smart Routing — tries the app first, then falls back to your cell if unanswered.
You can change this anytime in Settings > Setup.
Step 3: Activate Business Number
Pick a local or toll-free number for your business. This is the number customers will text and call. If you already have a business number, you can port it in later.
Step 4: Configure Auto-Text & Greeting
Set up an automatic text reply for missed calls. A simple message like “Hey, thanks for calling! We’ll get back to you shortly.” keeps leads warm while you’re busy on a job. You can also customize the greeting callers hear.
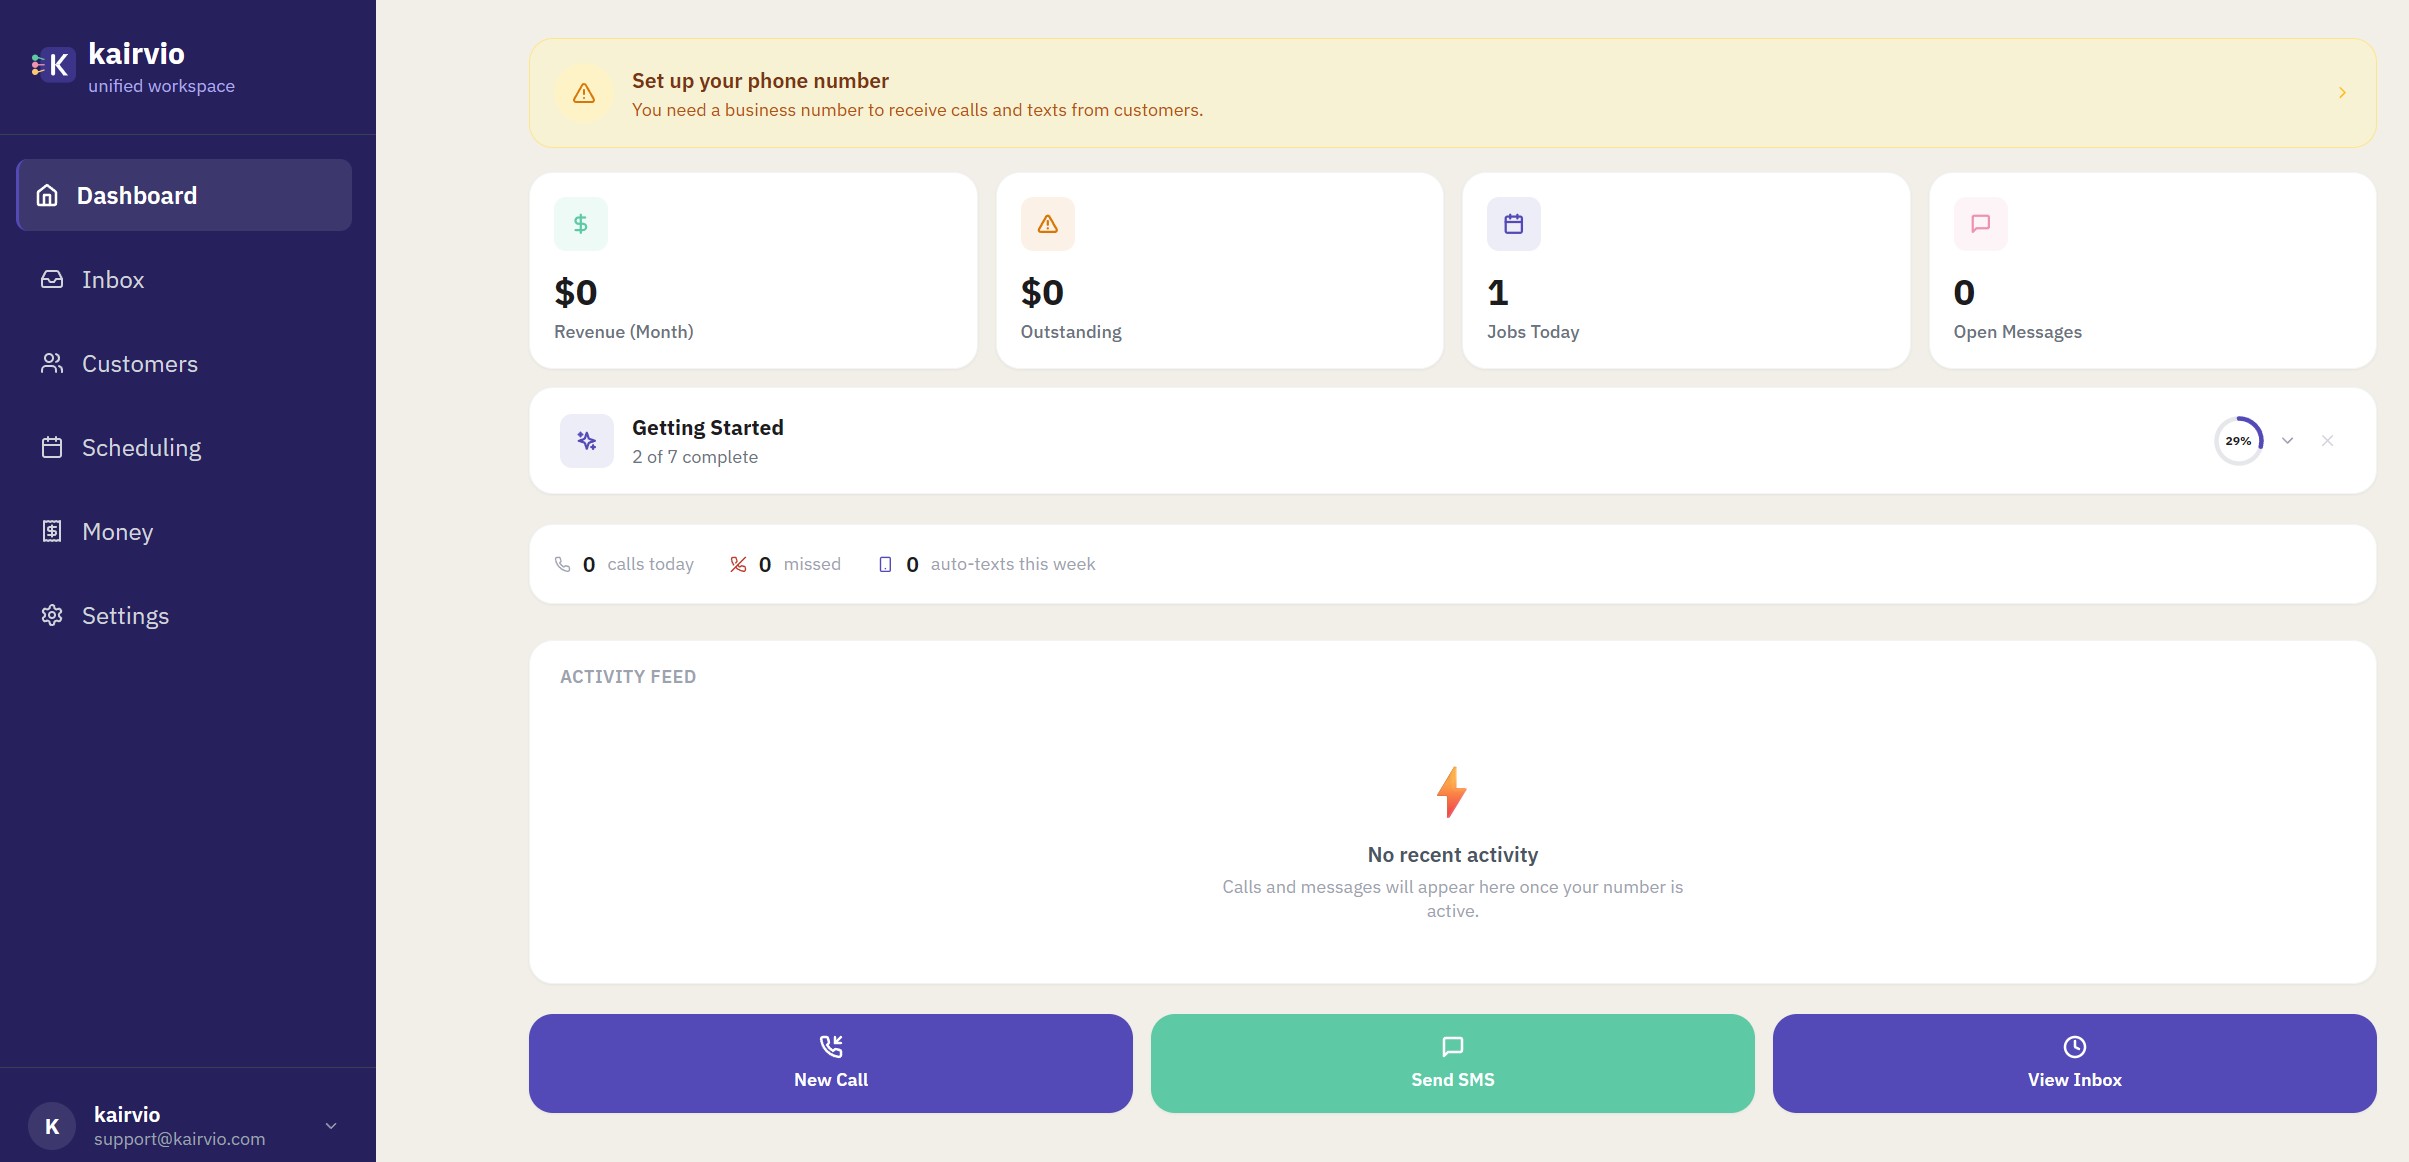
Getting Started checklist
Once you finish the Setup steps, check your dashboard for the Getting Started checklist. It tracks your overall onboarding progress across 7 steps (for example, “2 of 7 complete” with a progress bar). Work through each item to make sure your account is fully configured.
What’s next?
From here we recommend:
- Setting up your business profile with hours, services, and branding.
- Adding Kairvio to your phone so you never miss a message.
- Exploring your dashboard to see everything Kairvio can do.
Tips
- Use a real business email — your team members and customers may see it on invoices.
- You can revisit the Setup steps anytime from Settings > Setup.
- Have questions during setup? Tap the chat bubble in the bottom-right corner to reach our support team.