Creating and Sending Invoices
Create a new invoice
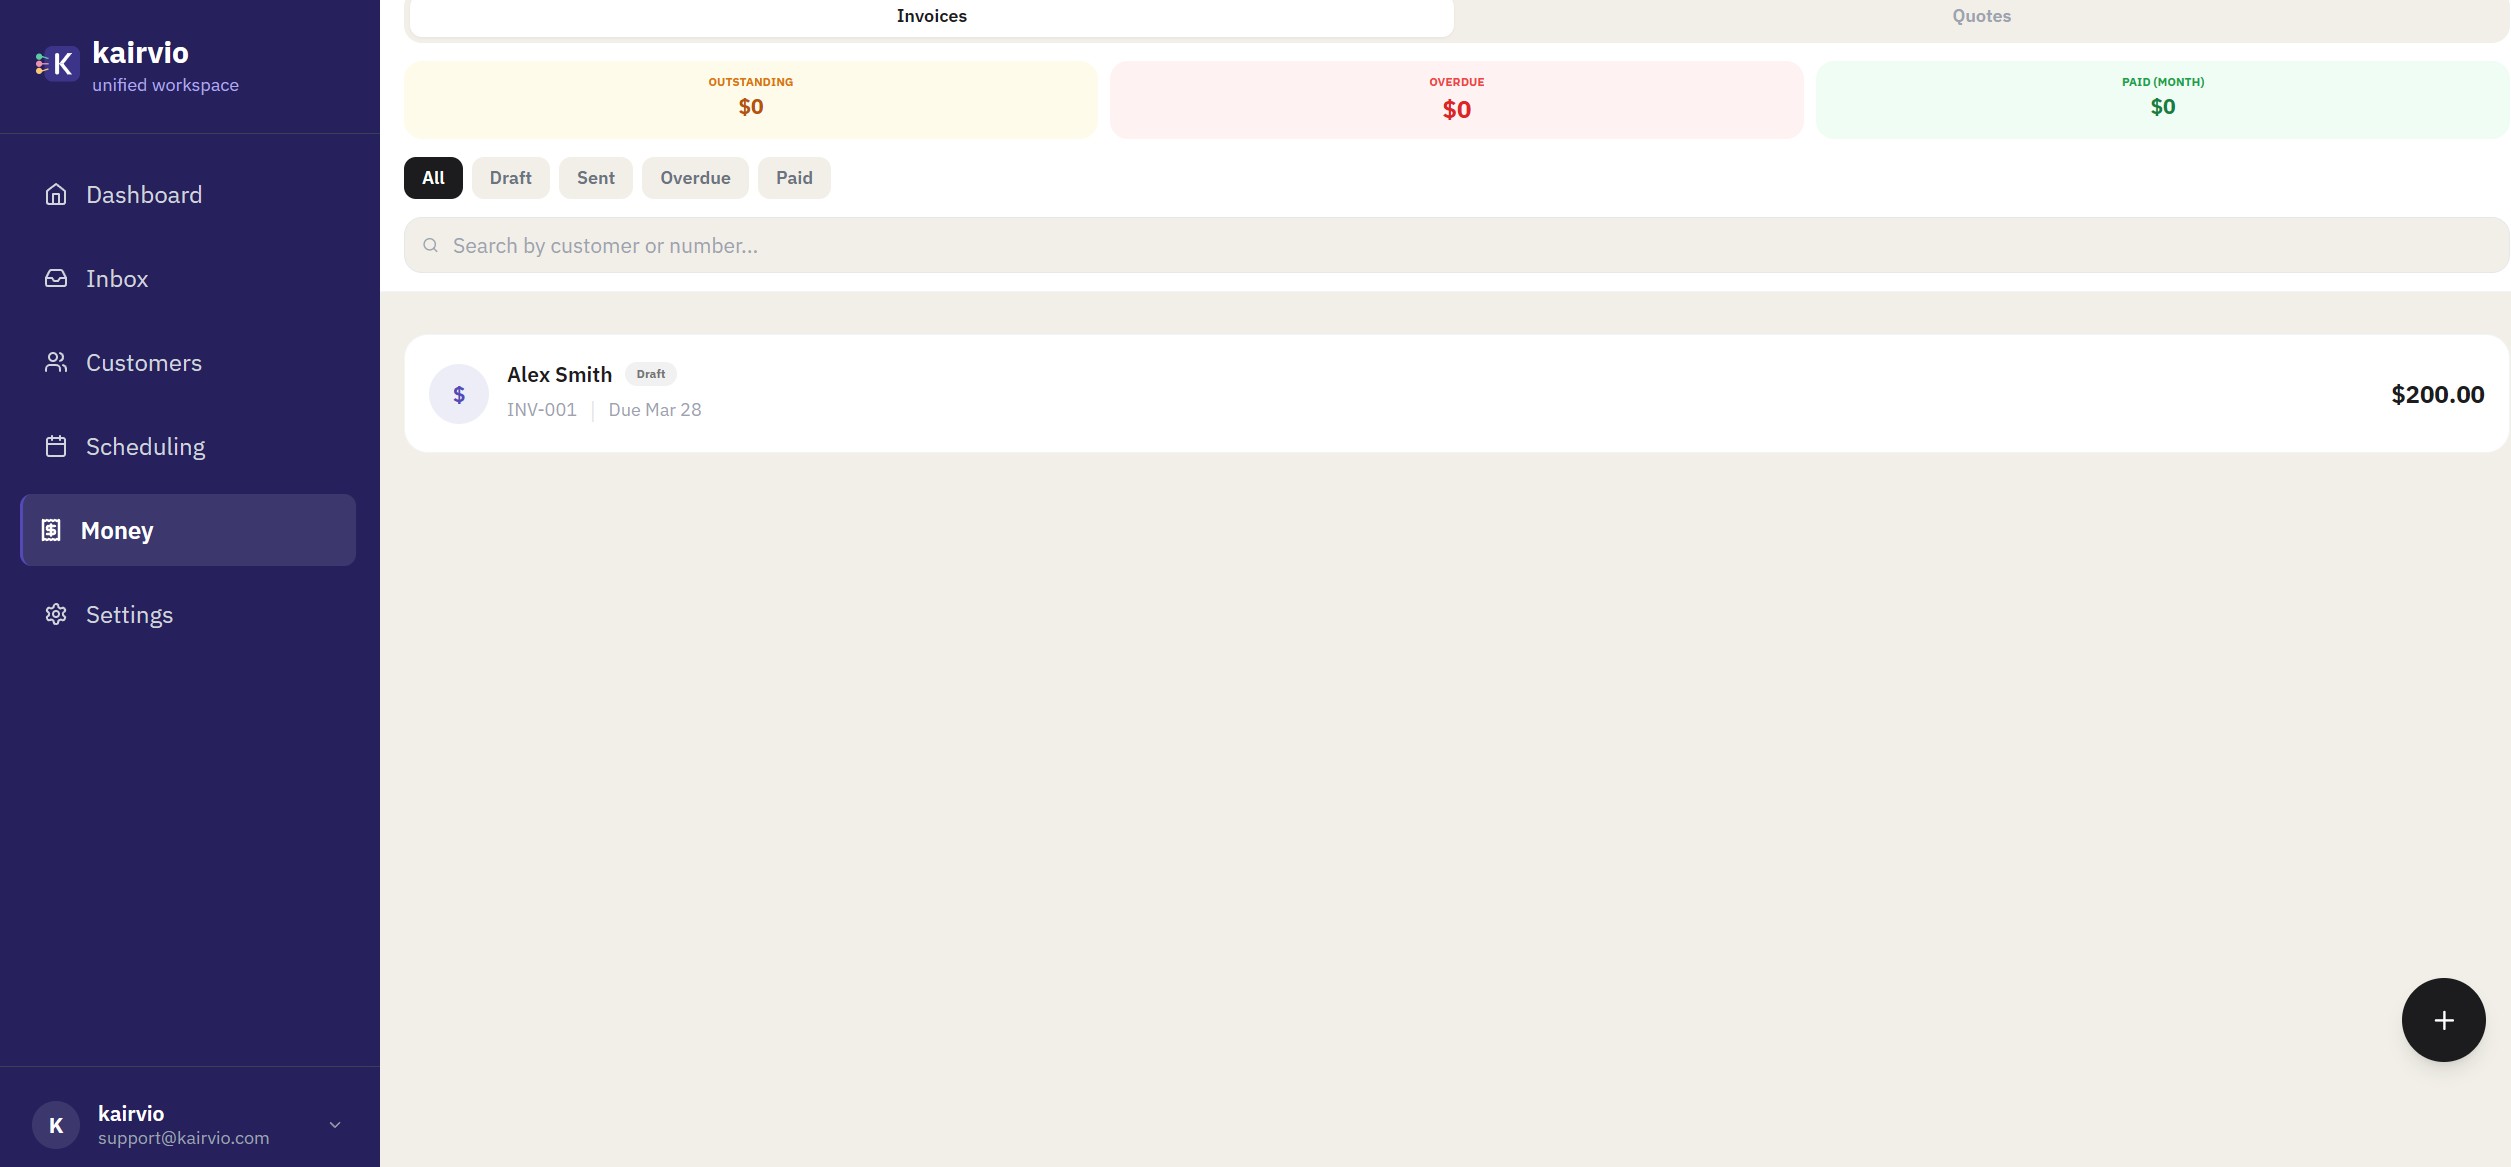
- Go to Money in the sidebar.
- Make sure you’re on the Invoices tab at the top of the page.
- Click + New Invoice in the top-right corner, or tap the floating + button at the bottom right.
- Select an existing customer from the dropdown, or click + New Customer to add one on the spot.
- Add line items to the invoice:
- Choose items from your Price Book for consistent pricing.
- Or type a custom line item with a description, quantity, and price.
- Set the tax rate if applicable.
- Add a discount (flat amount or percentage) if needed.
- If you require a deposit before work begins, toggle on Deposit Required and enter the amount or percentage.
Add notes
- Customer notes appear on the invoice your customer sees. Use these for payment terms, project details, or a thank-you message.
- Internal team notes are only visible to your team. Helpful for job-specific context that shouldn’t go to the customer.
Attach photos
You can attach photos directly to an invoice for before-and-after documentation. This is especially useful for service businesses that want to show completed work alongside the bill.
Send the invoice
- Click Send Invoice when everything looks right.
- Choose your delivery method:
- Email sends a branded invoice with a direct link to view and pay.
- SMS sends a text message with a payment link.
- Both covers all your bases.
- Your customer receives the invoice immediately.
Track the invoice lifecycle
Every invoice moves through a clear set of statuses so you always know where things stand:
- Draft — saved but not yet sent.
- Sent — delivered to your customer.
- Overdue — past the due date and still unpaid.
- Paid — payment received. You’re all set.
You can filter by status using the tabs at the top of the Money page — All, Draft, Sent, Overdue, and Paid — to quickly find what needs attention. Use the search bar to search by customer name or invoice number. Summary cards at the top show your Outstanding, Overdue, and Paid (this month) totals at a glance.
Tips
- Set up your Price Book first. Go to Settings > Price Book and add your common services and products. This saves time on every invoice and keeps pricing consistent across your team.
- Attach photos for jobs where visual documentation matters. Customers appreciate the transparency, and it helps if questions come up later.
- If you’ve connected Stripe, every sent invoice automatically includes a Pay Now button so customers can pay online right away.